The Classic: Rust on Fender and Door Sill
▶️ The Classic: Rust on Fender and Door Sill
Repair typical rust spots on wheel arch and sill in 6 steps
Complete Video Tutorial (6 Parts)
The Problem
Ugly, highly visible rust spots on the lower edge of the fender and door sill on both sides. This repair can cost up to €2,000 at a body shop!
6 Steps to Success:
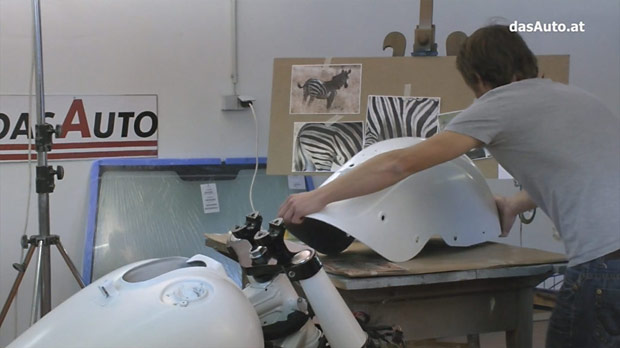
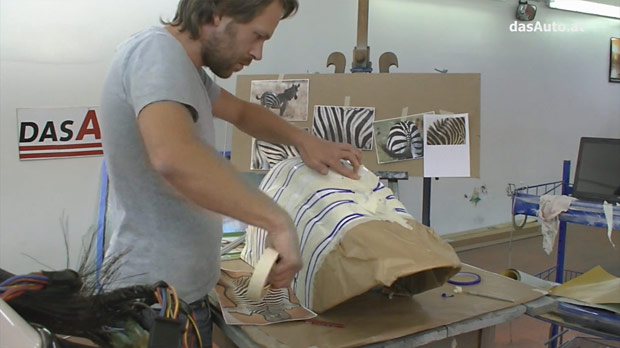
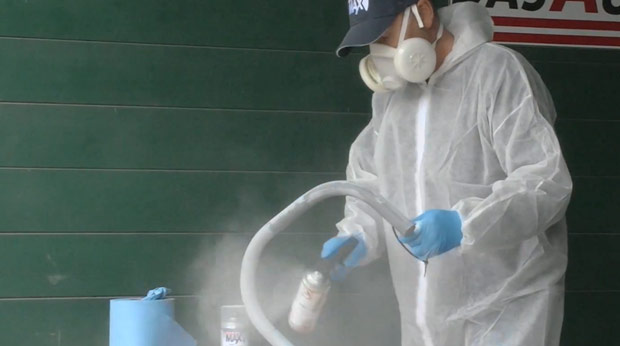
Preparation
Lift vehicle, remove wheels, inner fender, door. Loosen fender. Mask everything that shouldn’t be painted – interior, brake parts, adjacent panels.
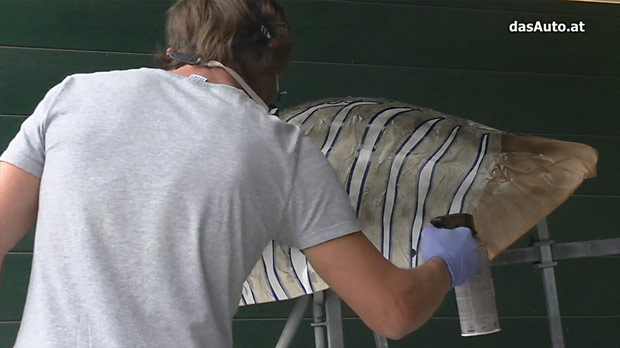
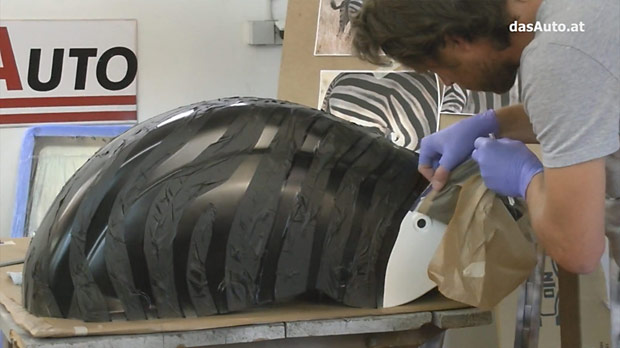
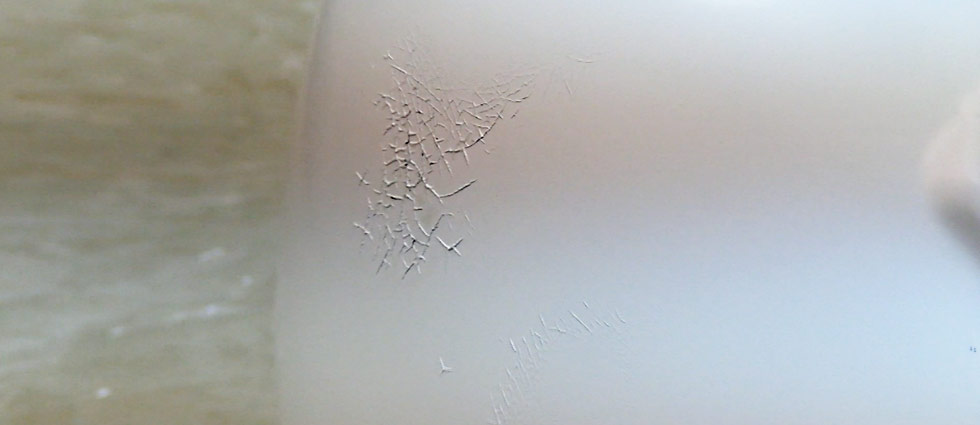
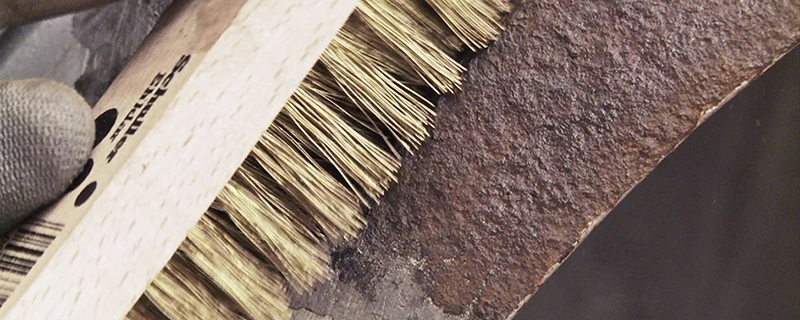
Remove Rust
Completely remove all rust with wire brush, rust disc, and sandpaper. All rust must be removed!
Prime & Sand
Apply 2K epoxy primer in 2-3 coats. After 12h, wet sand with P800. Apply stone chip protection on lower areas.
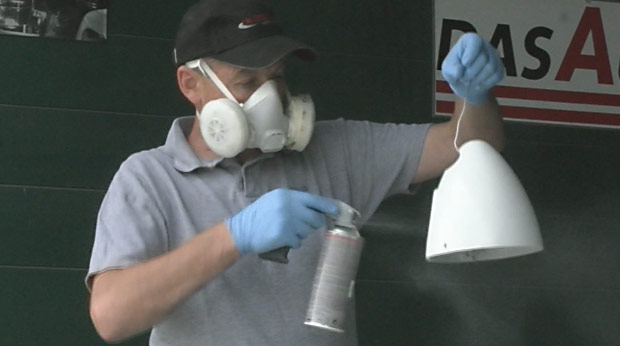
Base Coat
Shake spray can 2 minutes. Apply multiple thin coats from 30cm distance. First coat thin (adhesion), second coat full coverage.
Clear Coat
After 30 minutes, apply 2K clear coat in 2-3 thin layers for UV protection and gloss.
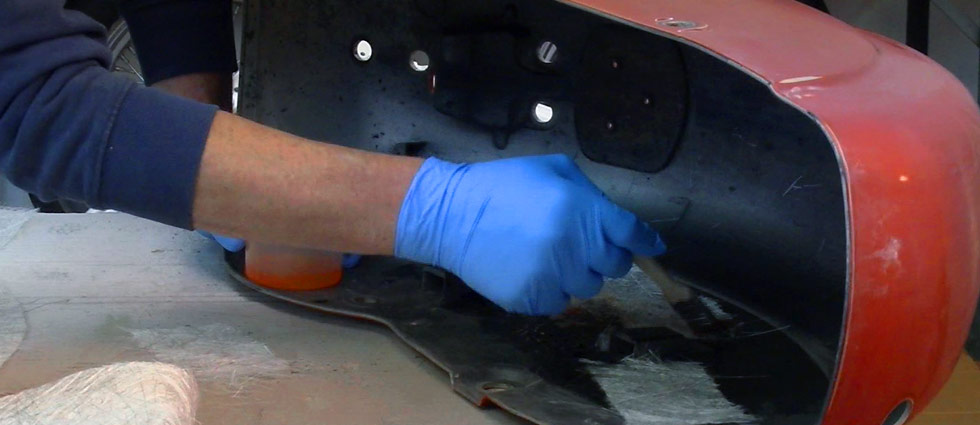
Polish & Reassemble
After curing, polish blending area. Reassemble all parts – done!
▶️ Why DIY?
You don’t need to be a pro! Watch our video and you’ll see – you can do this too. Save €1800!