#12: The reward
#12: The reward
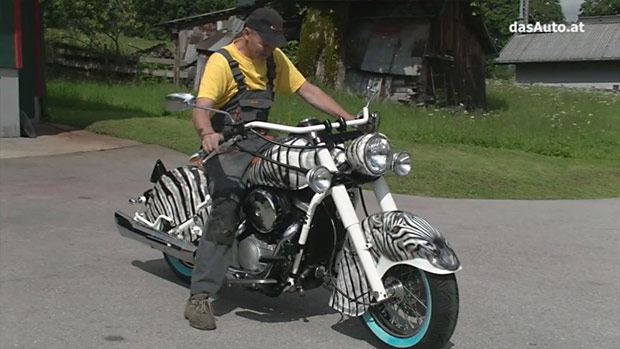
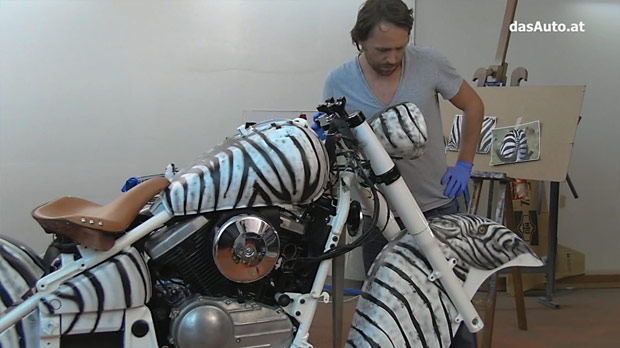
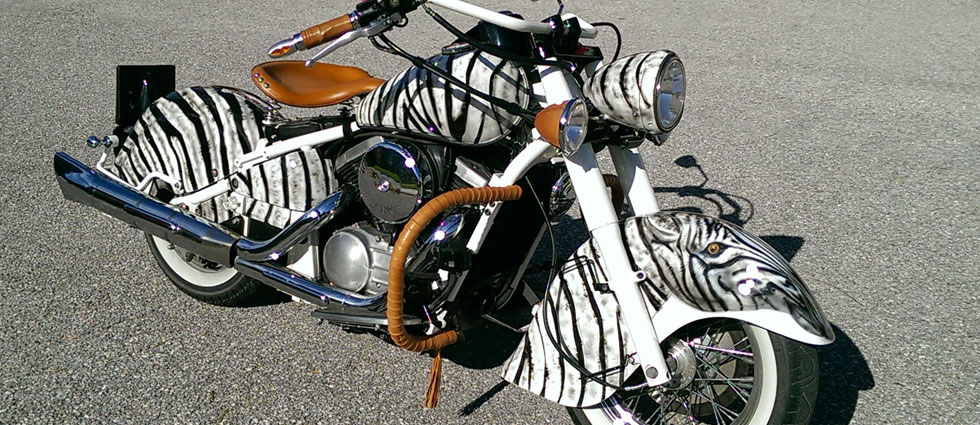
DONE! The Kawasaki Drifter shines in new splendor
EPISODE
12 of 12
DIFFICULTY
Enjoy!
TIME REQUIRED
Done!
Video Tutorial
The Result
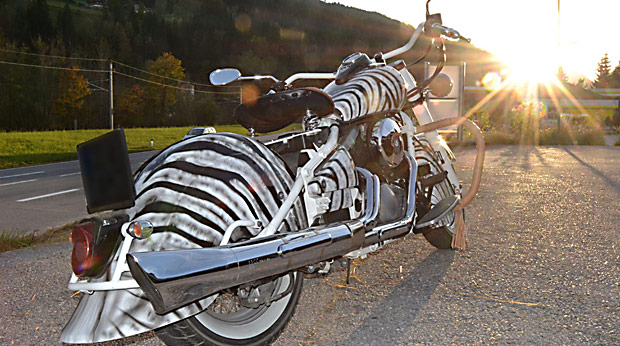
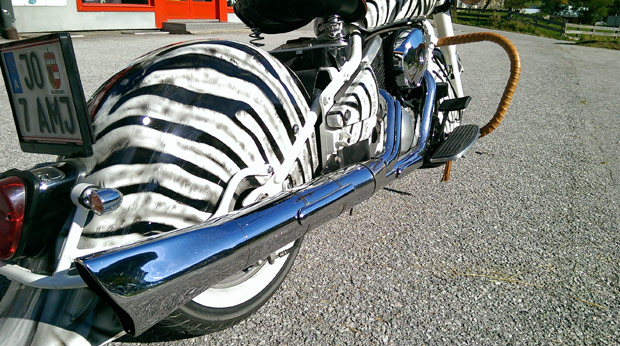
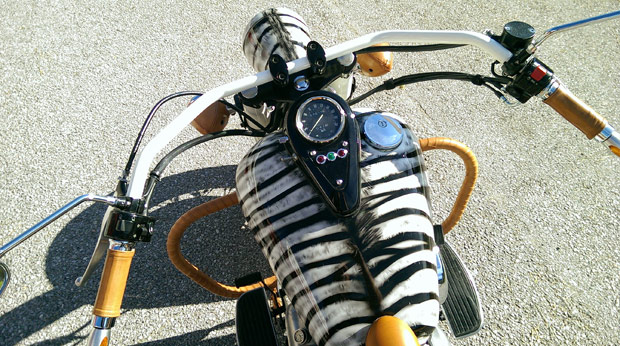
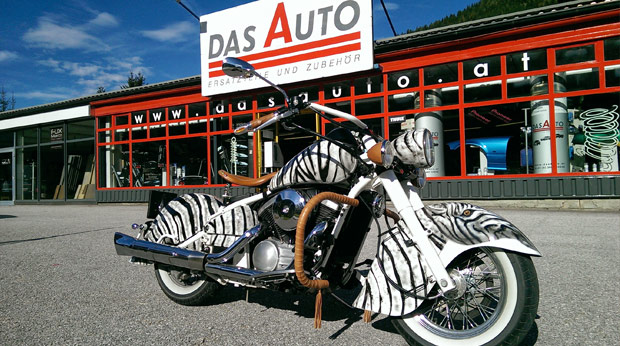
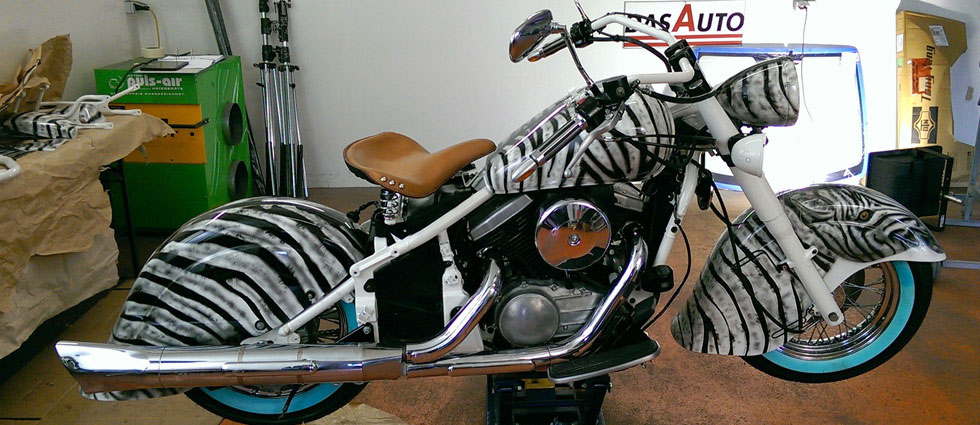
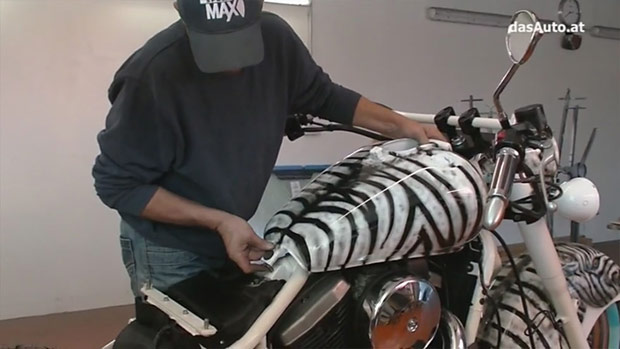
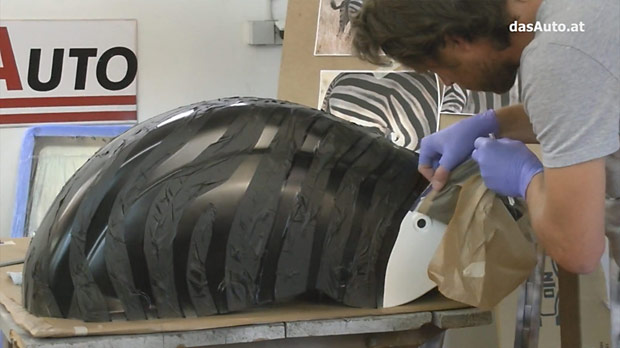
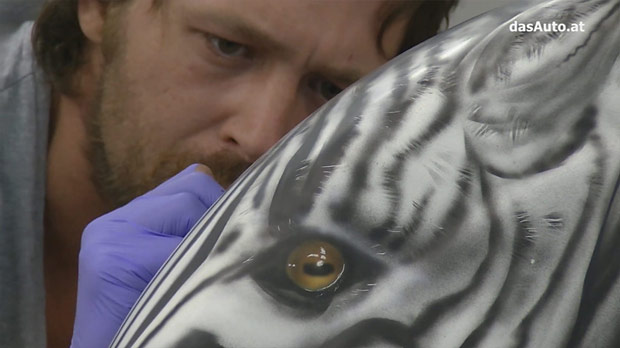
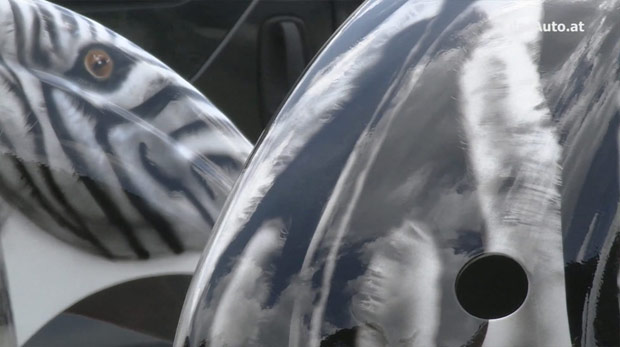
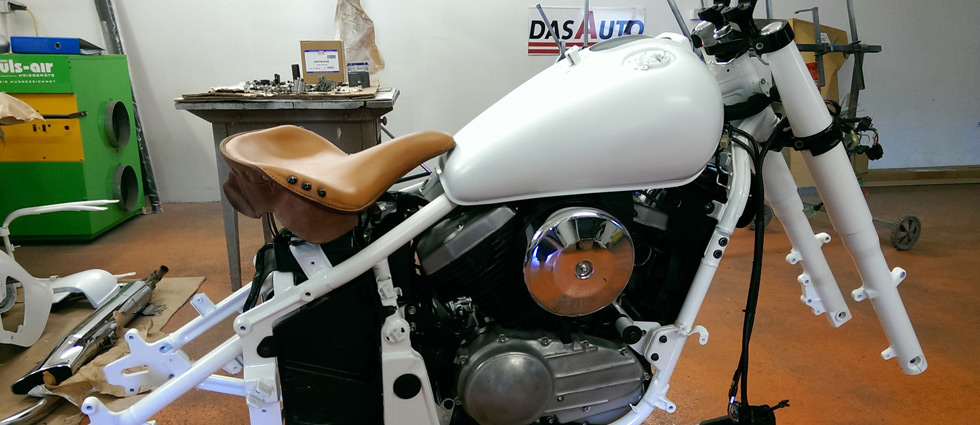
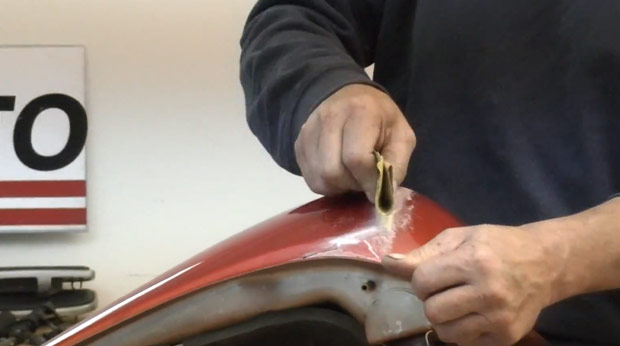
After months of hard work, it’s finally done: the Kawasaki VN800 Drifter shines in new splendor!
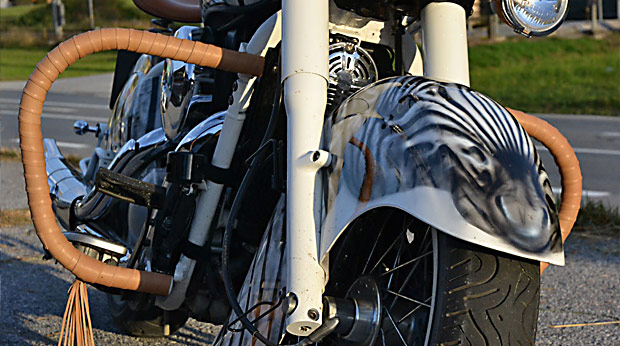
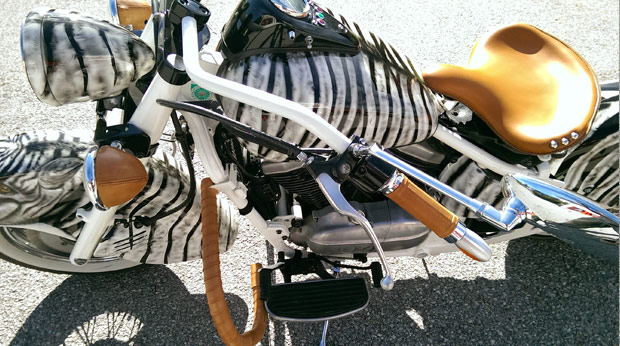
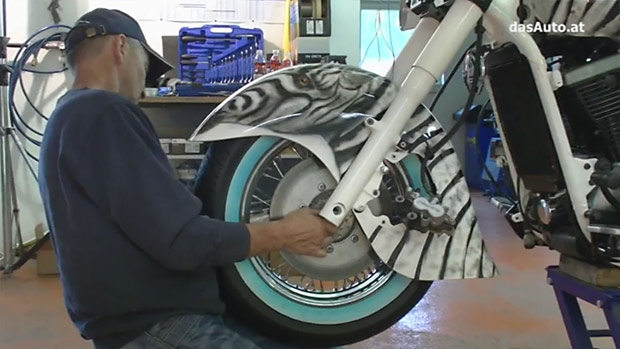
The result: a unique show bike with hand-painted zebra airbrushing. From rusty barn find to award-winning custom—that’s the magic of DIY!
What We Achieved:
✓
Complete restoration
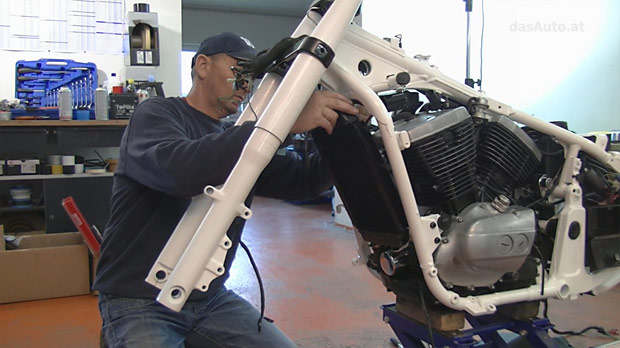
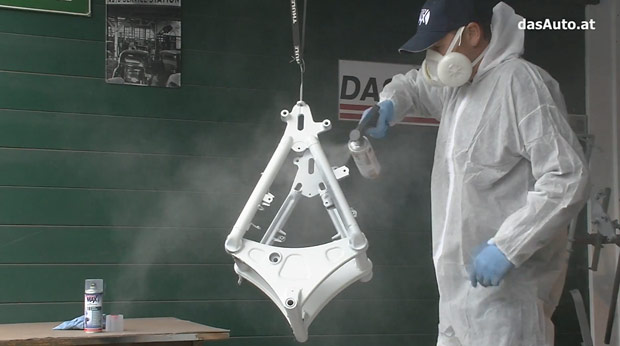
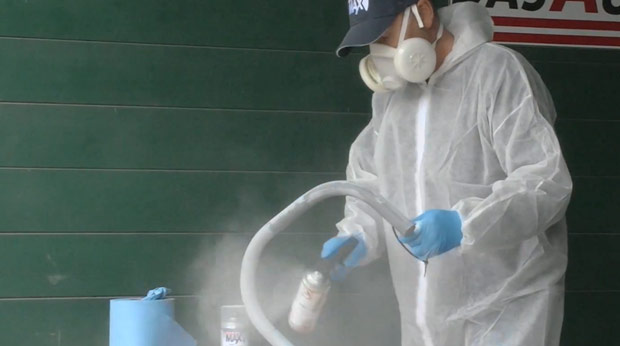
Frame, engine, all body parts—everything was completely restored.
✓
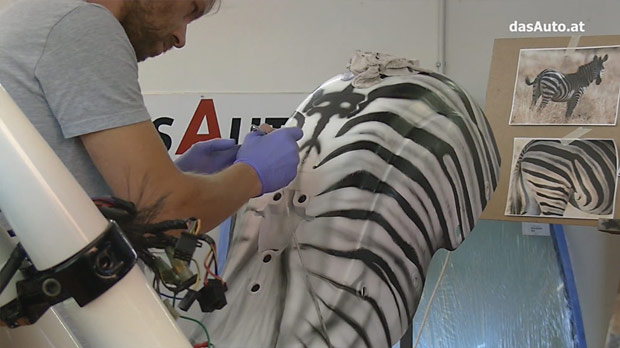
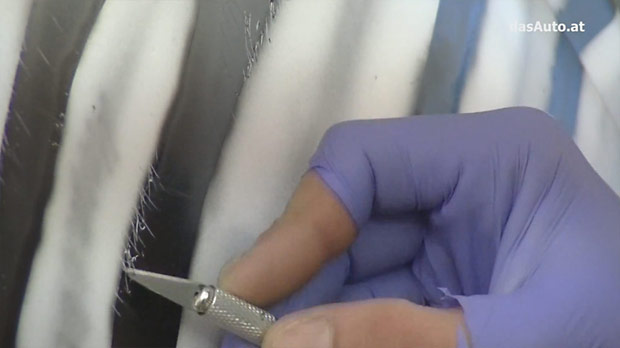
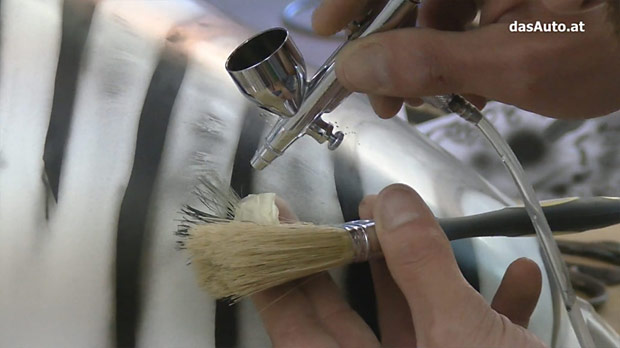
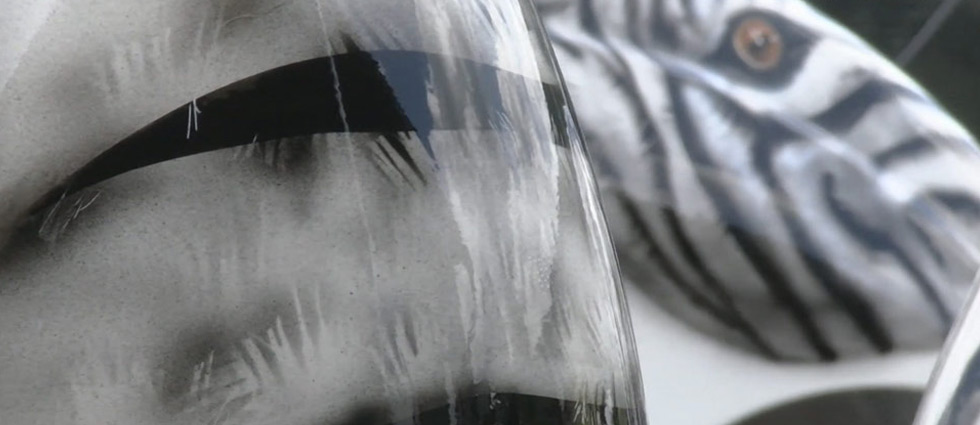
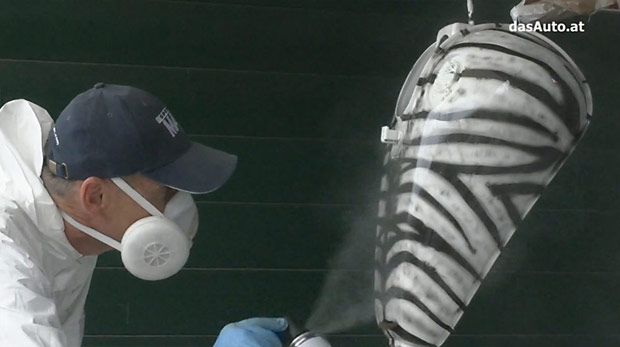
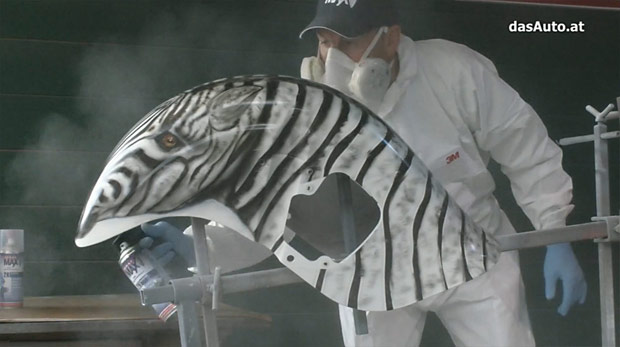
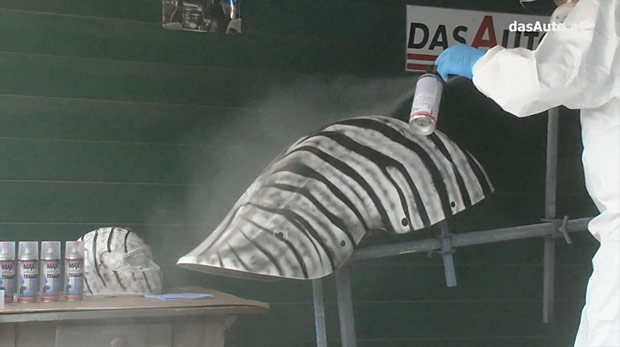
Custom paint
Unique zebra airbrush design—a one-of-a-kind show bike.
✓
Show winner
The bike won awards at custom bike shows—the ultimate validation!
✓
DIY success
Proof that with the right products and knowledge, anyone can achieve professional results.
Your Turn!
You’ve seen how it’s done. Now it’s your turn! With the right products from our shop and these guides, you can transform your motorcycle too.
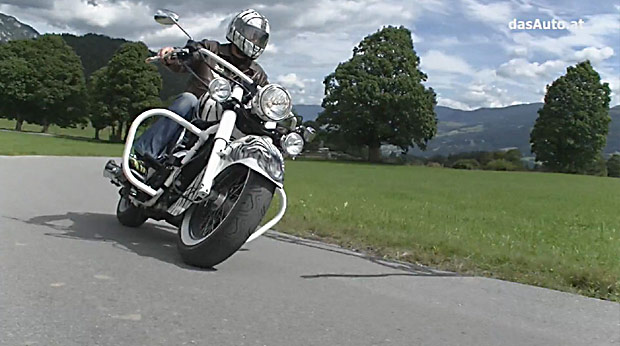
The first ride