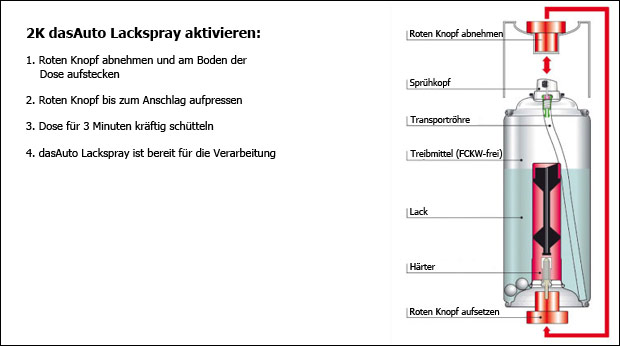
#08: Assembly 1
#08: Assembly 1
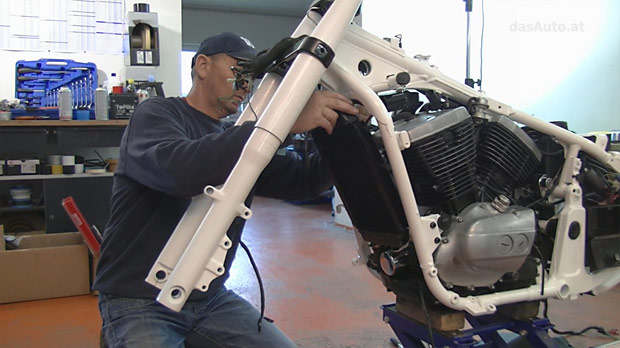
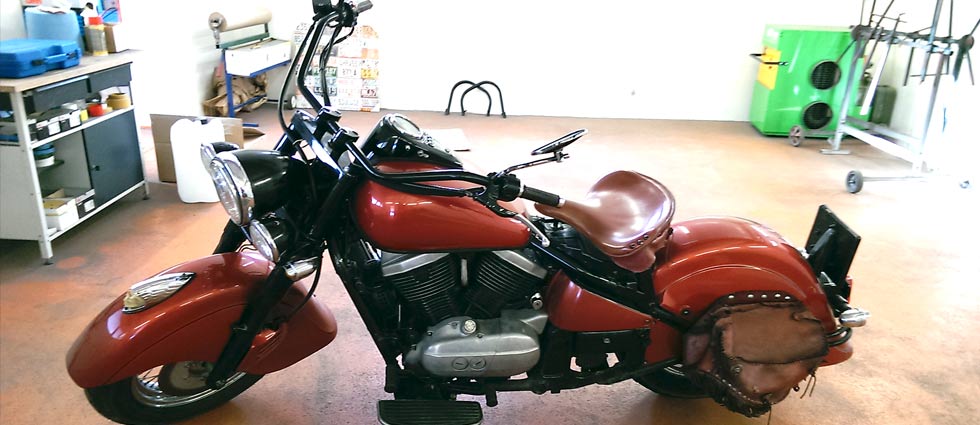
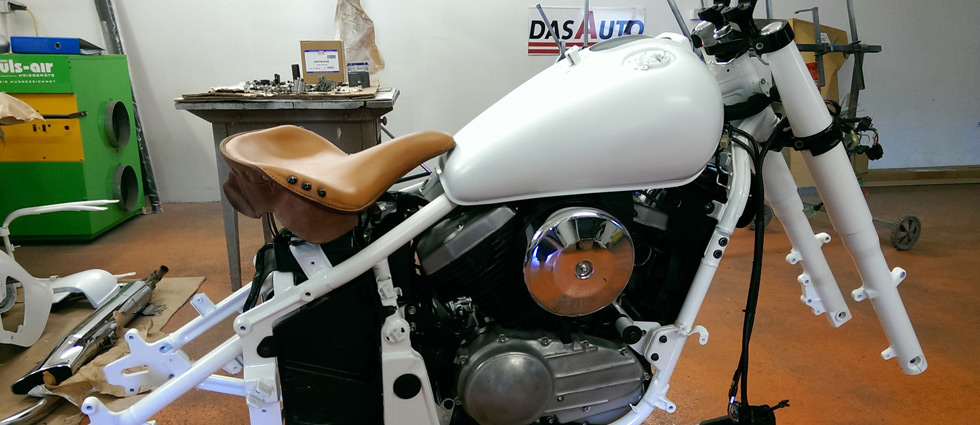
Finally! The frame and engine are reunited
EPISODE
8 of 12
DIFFICULTY
Medium
TIME REQUIRED
1 day
Video Tutorial
Work Steps:
1
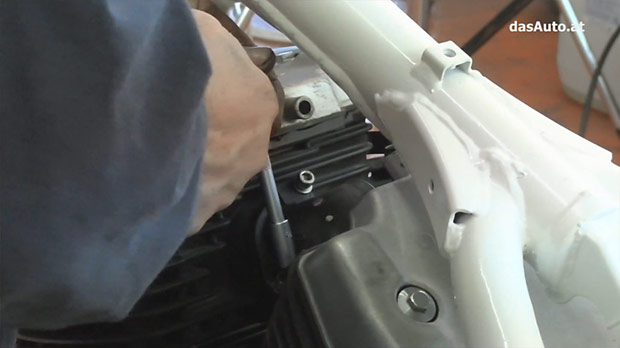
Engine installation
Carefully insert the engine into the frame. Check the engine mounts!
2
Wheel mounting
Install front and rear wheels. Check bearing play and brake discs.
3
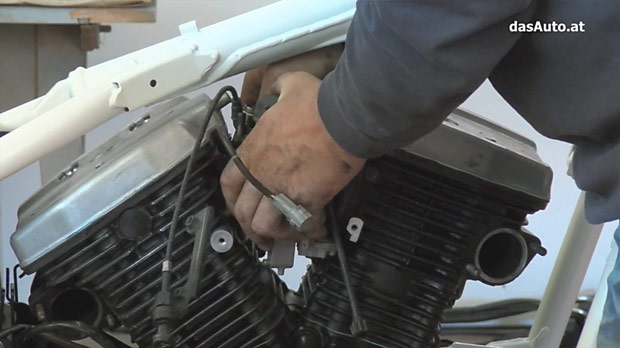
Connections
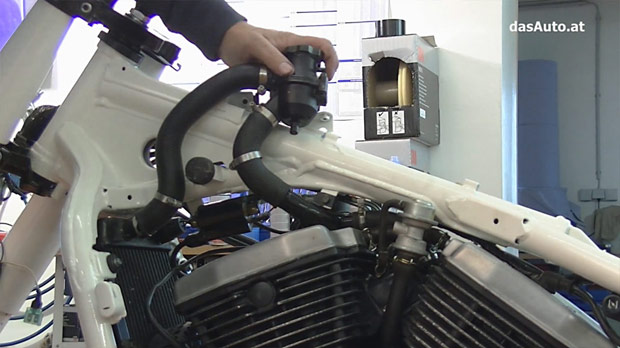
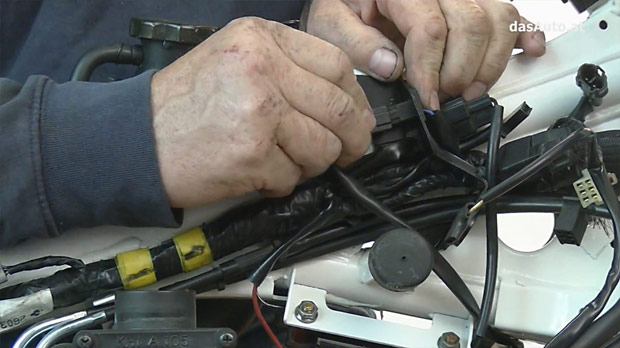
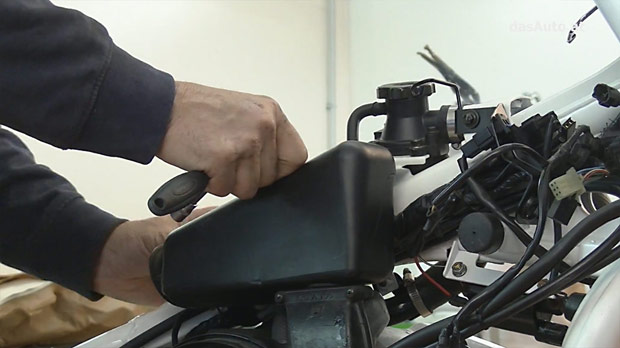
Brake lines, fuel lines, and electrical systems are connected.
4
Check
Check all connections for leaks and proper fit.
The Goal
The moment we’ve been waiting for! After all the painting work, the motorcycle slowly comes back together. Engine and frame are finally reunited.
Pro Tip
Use new gaskets and seals everywhere. Old rubber parts can crack and cause leaks.
The rebuilding begins