▶️ Repair Foggy Headlights
Restore yellowed headlights yourself
▶️
Difficulty
Easy
⏱️
Time
2 Hours
▶️
Cost
€55
▶️
Savings
Up to €2000
▶️
Tools
Sanding Tools
▶️ Matching Product for This Video
[dasauto_product id=”368836″]
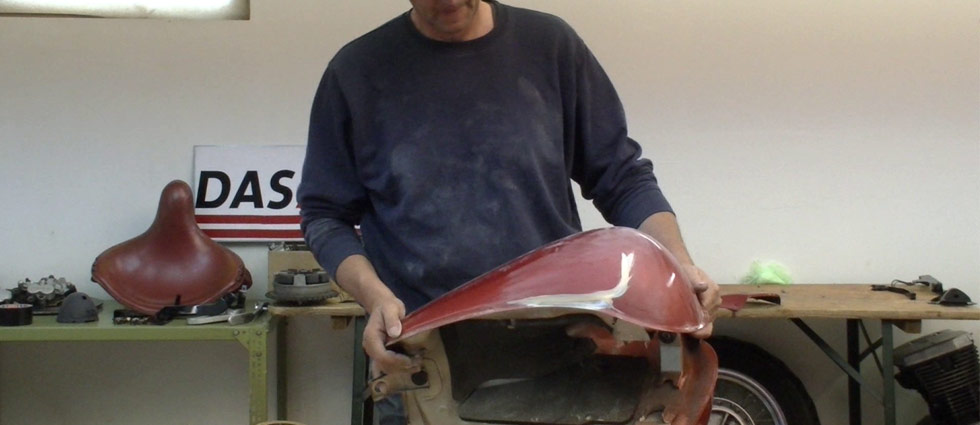
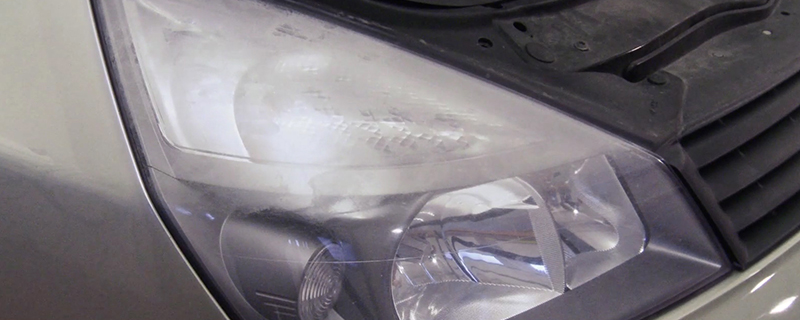
⚠️ The Problem
Stone chips, UV light, salt, insects and weather effects cloud and scratch the plastic covers on modern headlights. Poor light significantly increases the risk of accidents, harms the appearance, and the cloudy matte lens won’t pass safety inspection.
Foggy headlights – Since headlights on almost all modern vehicles are either glued or manufactured as one piece, the covers cannot be replaced. New headlights can cost a lot of money, especially with xenon and cornering lights, one headlight costs up to €1,000. Add installation and adjustment work. DasAuto Easy Repair has developed a way to repair yellowed headlights yourself, cost-effectively and without much effort, even without technical knowledge.
Here’s How:
1
Preparation
The first step is to protect the adjacent body parts with masking tape so that the paint is not damaged during sanding. All painted parts must be very carefully masked off.
2
Sanding and Cleaning
With a large sponge, lots of water and wet sandpaper – grit P800 – the yellowed and cloudy protective layer is sanded off. This is very easy and quick as the damaged protective layer is easily removed.
Always rinse with plenty of water in between.
You get the perfectly clear cover by final fine sanding with lots of water and wet sandpaper – grit P2000. This is no magic either: With circular motion and light pressure, the entire cover must be sanded evenly.
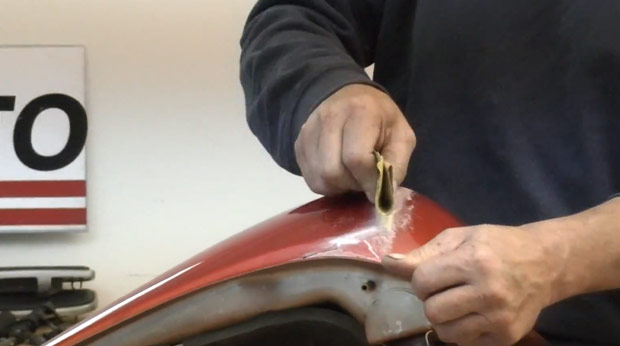
3
Masking
Now you need to mask off. Masking is worth it because it’s much more tedious to remove paint from the fender, bumper, grille and engine bay later.
Thorough cleaning is necessary to remove grease and silicone as well as sanding particles.
A lint-free cloth and a cleaner specially developed for plastic allow a residue-free surface.
4
Priming
For the clear coat applied later to remain robust and durable, the cover must be primed with plastic primer.
This primer is important because it creates a stable bond for the clear coat on the plastic.
A thin layer of primer is sufficient and is dry and ready for overcoating after 30 minutes.
⚠️ Warning
Shake the can vigorously for 3 min from the audible impact of the balls. This ensures optimal mixing with the hardener. Use the handle again, it makes painting easier.
▶️ Pro Tip
2K (2 component) clear coat is significantly more durable and resistant than 1K (1 component) clear coat.
Plastic primer is absolutely necessary. The primer ensures a compact and long-lasting bond between clear coat and headlight. Without primer, the clear coat will peel off and the work was in vain.
5
Painting
We recommend the 2K 2in1 Headlight Clear Coat. This special 2K clear coat was developed for the subsequent protective coating of polycarbonate lenses.
This clear coat is significantly more durable and resistant than many other products offered.
In this 2K clear coat, the hardener is integrated in a separate cartridge in the spray can. The hardener is released by pressing a button and mixes by shaking in the can. The 2-component system is particularly robust and resistant to scratches and weather influences and guarantees the highest product quality.
Spray the first thin coat with even movements and let it dry for four to five minutes. Finally, apply a second generous coat for full coverage.
▶️ New Product
The headlight clear coat has been further developed by the manufacturer and combined with a plastic primer. Primer & clear coat are now applied in one spray pass. No more plastic primer needed!
⚠️ Warning
Don’t apply too thick, otherwise the paint will run and form ugly drips.
6
Done
The headlights are like new and pass every safety inspection. Perfect light, perfect appearance, repaired yourself and saved a lot of money in the process.