▶️ Scratches, Dents and Bumps on Your Car
Repair minor damage yourself – from preparation to finish
▶️
Difficulty
Medium
⏱️
Time
3-5 Hours
▶️
Cost
€80-150
▶️
Savings
€400-800 vs. Body Shop
▶️
Tools
Sanding Block
▶️ Matching Product for This Video
[dasauto_product id=”368833″]
The Problem
Small dents, scratches and bumps from parking mishaps or minor accidents are annoying and lower the value of your car. A body shop often charges €500 or more for such small repairs.
With the right materials and a little patience, you can repair these damages yourself and save a lot of money!
Here’s How:
1
Assessment
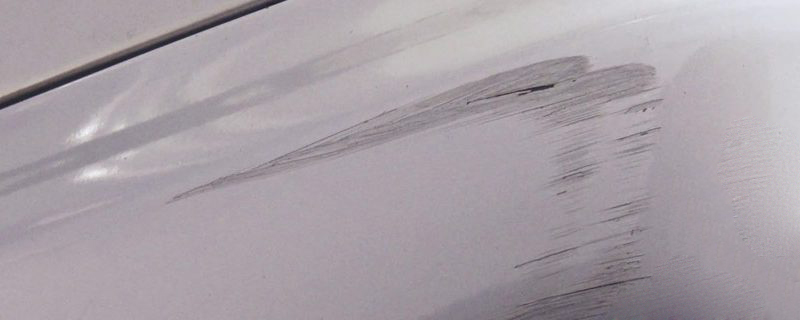
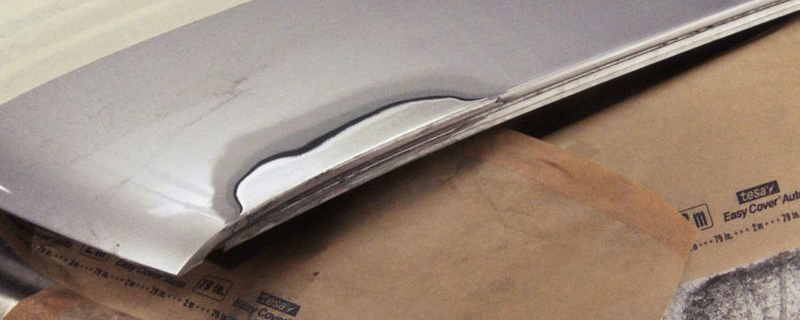
First assess the damage. Is it just a scratch in the clear coat, or has the paint been damaged down to the metal? For deep scratches down to the metal, rust protection is essential.
2
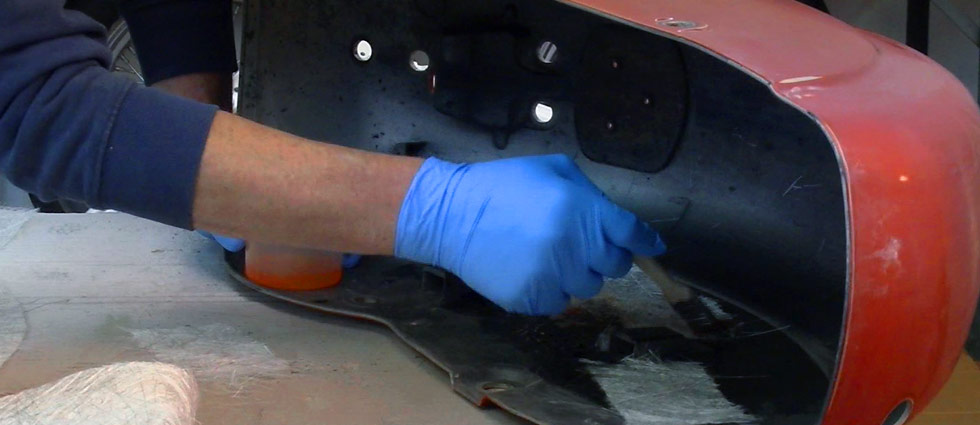
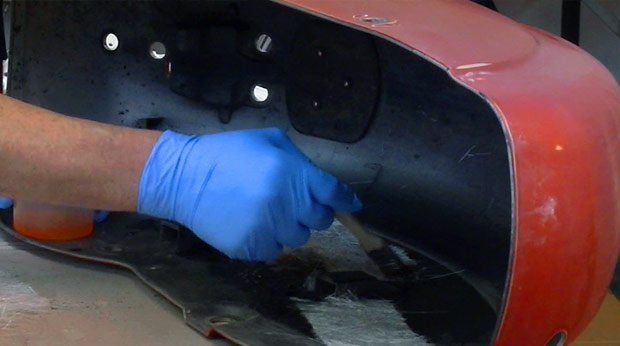
Preparation
Clean the damaged area thoroughly with silicone remover. Sand the area around the damage with P320-P400 sandpaper to create adhesion for the filler.
3
Filling
For dents: Apply filler in thin layers. Mix the filler with hardener according to instructions – not too much hardener, otherwise it sets too quickly!
Let each layer dry and sand smooth before applying the next. Build up gradually until the surface is level.
4
Fine Sanding
Once the filler is level with the surrounding area, sand with progressively finer grits: P400, then P600, finally P800. The surface must be perfectly smooth.
▶️ Pro Tip
For paintless dent repair, heat the panel with a heat gun first – the metal becomes more flexible! This works great for small dents without paint damage.
5
Priming
Mask off the surrounding area. Apply filler/primer in 2-3 thin coats. Let it dry for 30 minutes, then sand with P600-P800 wet sandpaper.
6
Painting
Apply base coat in 2-3 thin layers. Keep 25-30cm spray distance. Let flash off 5 minutes between coats. Then apply 2K clear coat in 2-3 layers.
7
Finishing
After 24-48 hours, polish the repaired area with polishing compound to blend it with the surrounding paint. The result should be virtually invisible!
⚠️ Warning
Always work in thin layers! Thick layers of filler crack, thick layers of paint run. Patience is key to a professional result.