Posts

#06: Restore attachments

#06: Restore attachments

Small parts, brackets, and attachments are refurbished


EPISODE
6 of 12

DIFFICULTY
Medium

TIME REQUIRED
1-2 days

Video Tutorial

Recommended SET

Paint & Primer SET

Go to Shop →

Work Steps:

1

Cleaning

Thoroughly clean all small parts. Oil, grease, and old dirt must be completely removed.

2

Rust removal

Remove rust with wire brush, sandpaper, or rust converter.
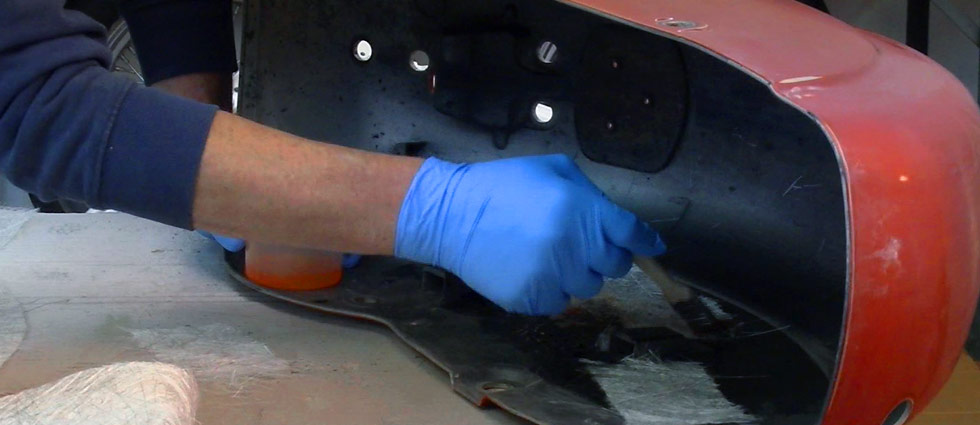
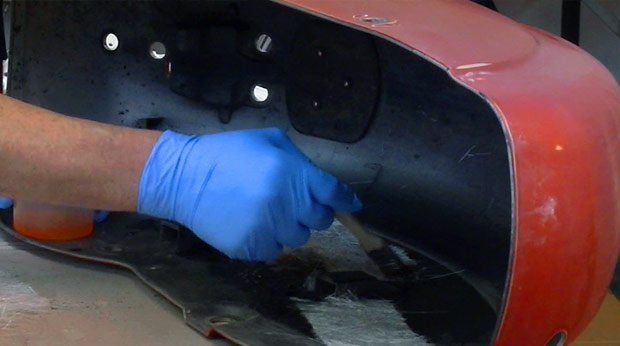
3

Priming

Treat metal parts with rust-proof primer. Use 2K filler for visible parts.
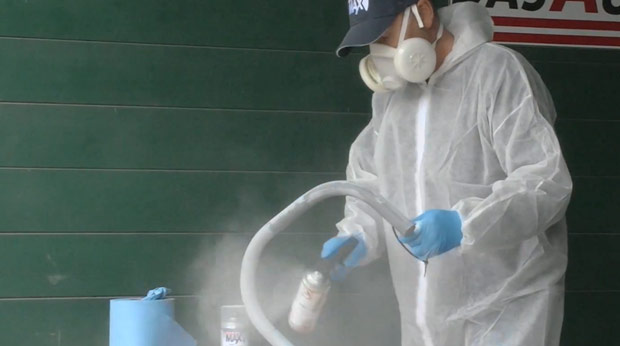
4

Painting

Paint with matching color or heat-resistant paint for engine parts.

The Goal

While the main parts are drying, we restore all the small parts. Brackets, covers, and accessories are cleaned, primed, and painted.

Pro Tip

Use wire hooks to hang small parts for painting. This way you can spray all sides at once.

#02: Repair previous damage 1

#02: Repair previous damage 1

Dents, scratches, and rust—the damage is assessed and repaired.


EPISODE
2 of 12

DIFFICULTY
Medium

TIME REQUIRED
1-2 days

Video Tutorial

Recommended SET

Filler & Sanding SET

Go to Shop →

Work Steps:

1

Inventory

Carefully inspect all parts and document any damage. Which parts can be repaired and which need to be replaced?

2

Treat rust

Rust deposits are removed with a wire brush and sandpaper. Rust converter stops corrosion.

3

Push out dents

Smaller dents are carefully pressed out or filled with tin/filler.

4

Apply filler

Use a fine filler to level out any unevenness. Apply thinly, allow to dry thoroughly, then sand smooth.

The Challenge

After dismantling, the true extent of the damage becomes apparent: dents in the tank, scratches on the side covers, rust spots on the frame.

Now it’s time for a thorough damage assessment and systematic repair of all previous damage.

Pro Tip

It is preferable to apply several thin layers of filler rather than one thick layer! Always allow each layer to dry thoroughly and sand between coats.