#09: Zebra Airbrush
#09: Zebra Airbrush
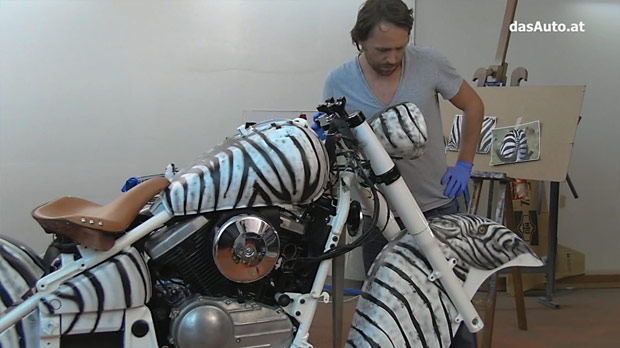
A work of art on two wheels—the unique zebra look is created
EPISODE
9 of 12
DIFFICULTY
Expert
TIME REQUIRED
2-3 days
Video Tutorial
Work Steps:
1
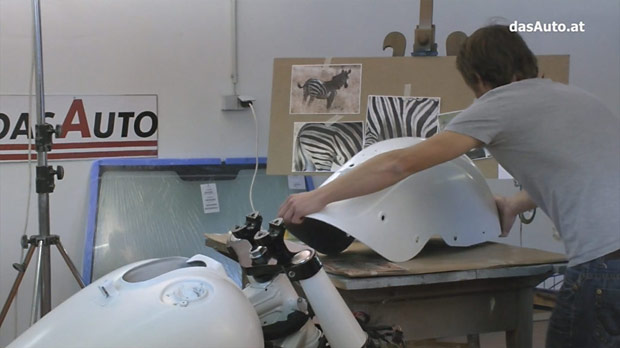
Design
Create the zebra pattern design. Mark the lines on the tank with masking tape.
2
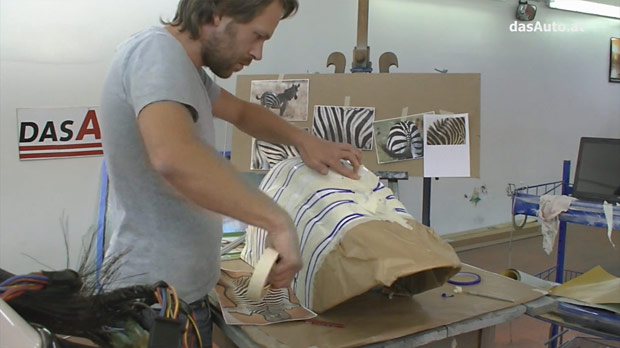
Masking
Cover all areas that should not be painted. Precise masking is essential!
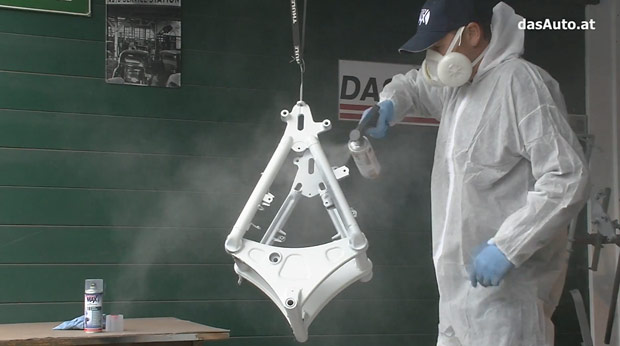
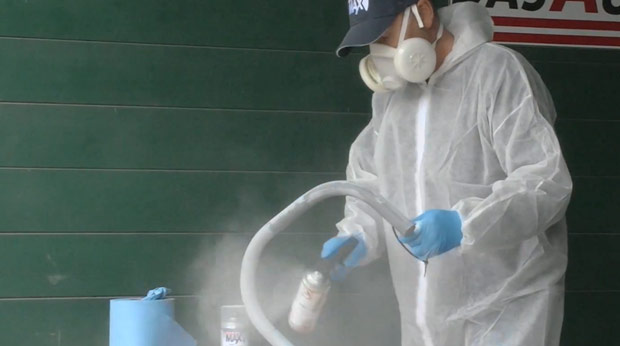
3
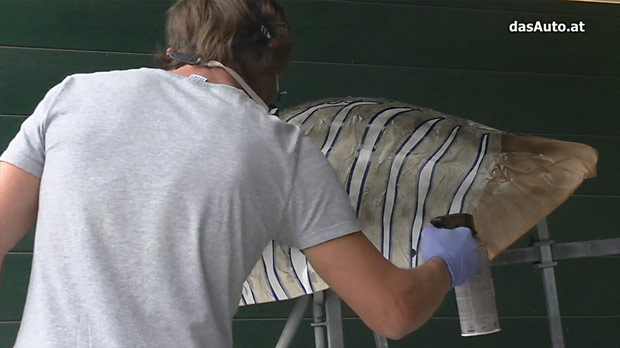
Airbrushing
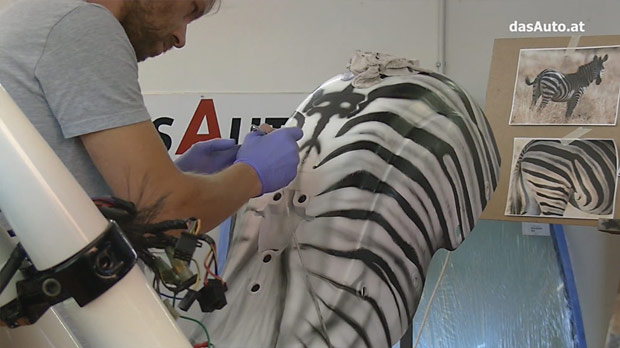
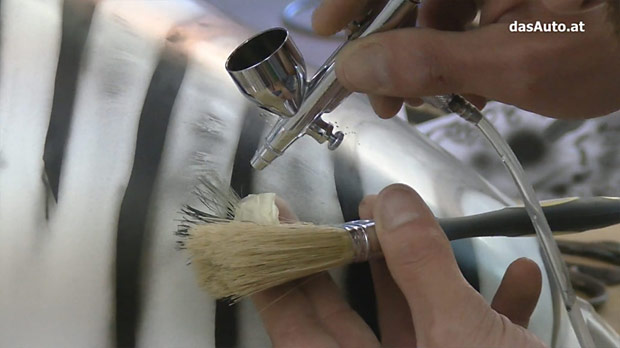
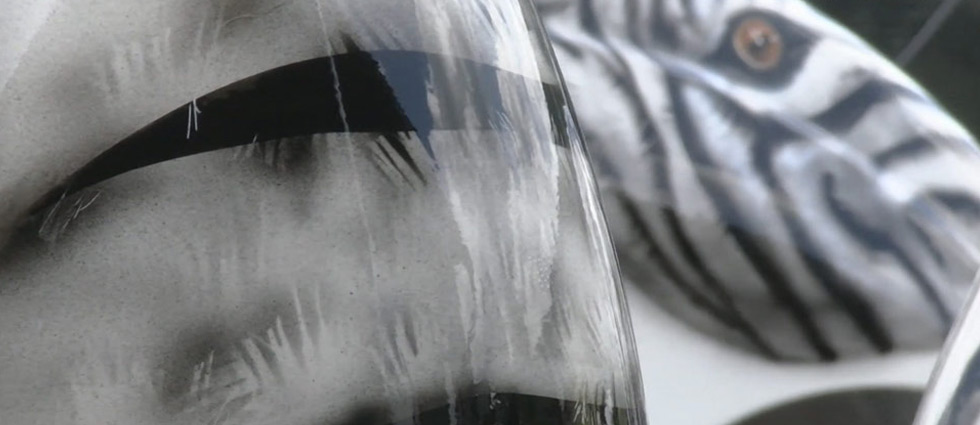
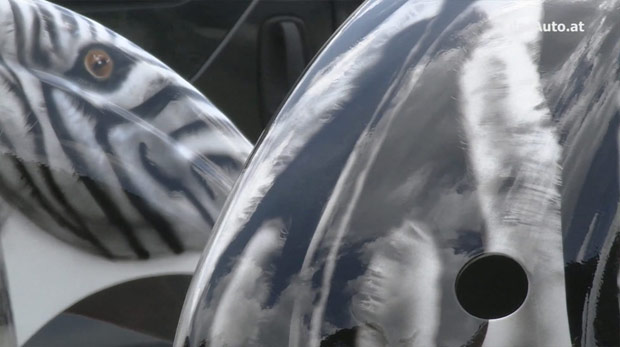
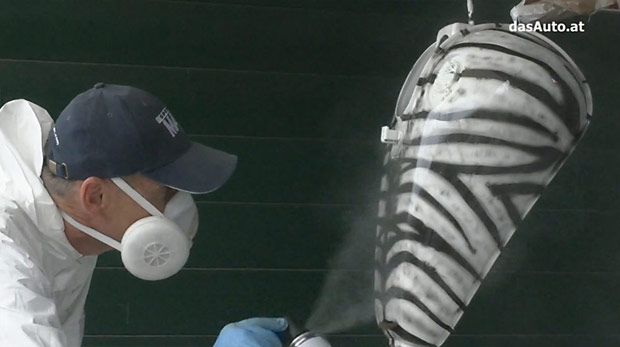
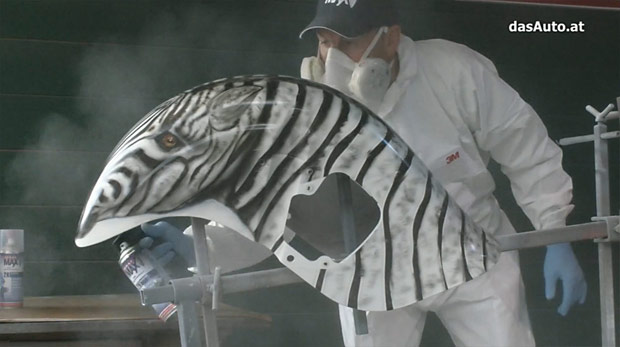
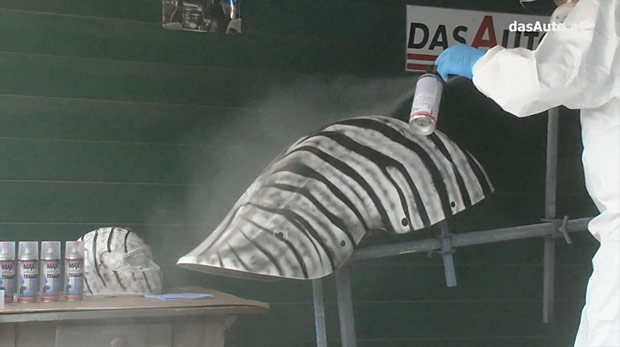
The zebra pattern is applied using an airbrush and stencils. Each line is sprayed by hand—precision work!
4
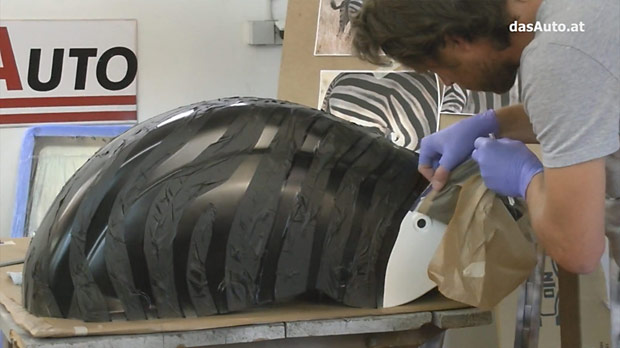
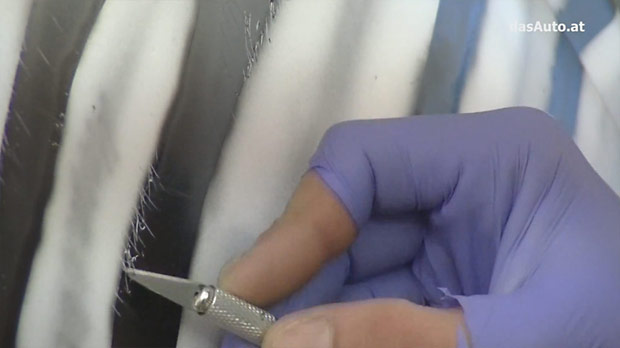
Details
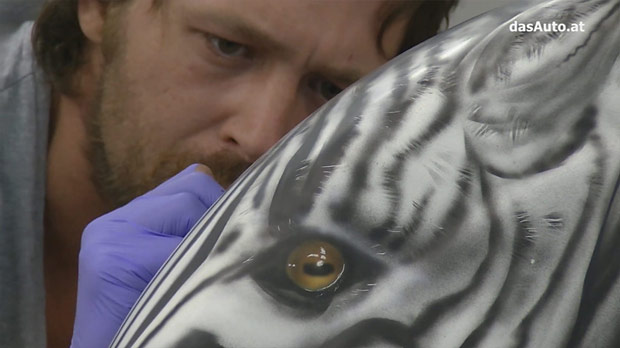
Fine details and transitions are hand-painted. Allow each layer to dry before the next.
The Artwork
Now it gets artistic! The tank receives its unique zebra pattern. This requires a steady hand, patience, and experience with airbrush technique.
Pro Tip
Practice the pattern on cardboard first. Each zebra stripe should be slightly different—that’s what makes it look natural.
Zebra design airbrush